
A Tech-Savvy Officeworks, DIY Tail Light Repairs, and Navigating the VicRoads Bureaucracy (Day 3)
Our third day in Melbourne was supposed to be a straightforward logistical sprint. The main mission was to visit VicRoads (Victoria’s road authority) early in the morning to officially transfer the ownership of our newly purchased Pajero. The seller had warned us that VicRoads gets incredibly crowded, so we aimed to arrive as early as possible.
To process the transfer, we needed two physical documents: the RWC (Roadworthy Certificate), which the seller had already obtained as a digital file, and the vehicle transfer application form, which the seller had digitally filled out right in front of us during the inspection. Since both were trapped in our smartphones as PDFs, our first stop of the day was Officeworks to get them printed.
- The Evolving Tech at Officeworks: Hands-on Printing
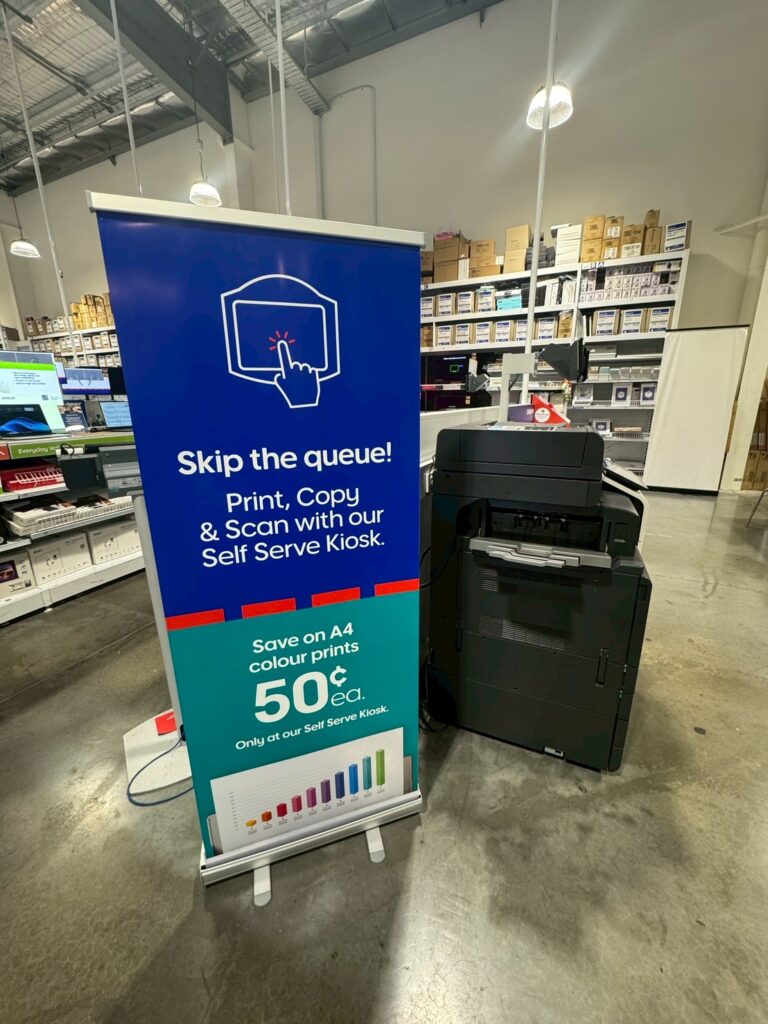
I had read on other expats’ blogs that printing at Officeworks was easy, but when we located the self-serve machines, I was initially completely baffled. The system had entirely changed from what older blogs described.
There was no longer any need to purchase a physical printing card. Instead, the process had evolved into a surprisingly frictionless, modern workflow. You simply email the documents you want to print to a specific Officeworks address. Within moments, you receive an automated reply with a QR code. You walk up to the printer, scan the QR code from your phone, and your print job instantly appears on the screen ready to select. For payment, you tap your credit card at the start, authorize a preset dollar amount, and any unused balance is instantly refunded. Since black-and-white prints were incredibly cheap—just 11 cents per page—the whole process barely cost anything. Navigating it by trial and error made me realize just how much things had changed from what I originally researched.
With the fresh documents in hand, we were ready to head to VicRoads. But just before putting the car in gear, a sudden instinct told me to check if all the vehicle’s exterior lights were actually working. I walked to the back, and my heart sank: the left brake light was completely dead. During the marketplace inspection the day before, I had been so hyper-focused on the engine bay and mechanical vitals that I completely forgot to check the most basic safety lights. It felt like a total rookie mistake.
- A Crash Course in Tail Light DIY (And the Plastic Packaging Trap)
I quickly pulled out my phone to see if a replacement was possible for a novice. It looked like a relatively simple fix depending on the cause, so we decided to try fixing it ourselves. Luckily, there was a tool shop right next to Officeworks, so I ran in and bought a screwdriver.
Then came a classic roadblock—though I’m not sure if it’s uniquely Australian or just a universal frustration: the heavy-duty plastic clamshell packaging on the screwdriver was fused together so tightly that it was physically impossible to open with bare hands. Defeated, I walked back into the shop and asked if they could help me open it. The staff member kindly grabbed a pair of heavy scissors and sliced it open for me, finally making the tool usable.
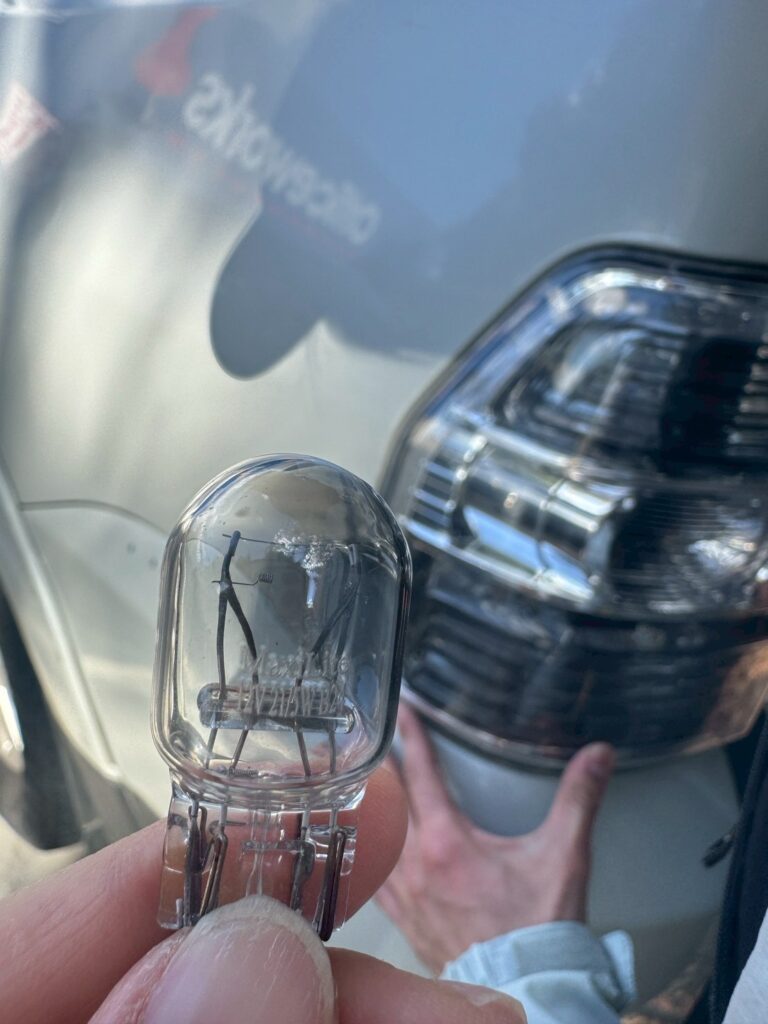
Armed with the screwdriver, I removed the tail light cover in the parking lot. To my relief, the issue was just a burnt filament in the bulb—something we could easily fix. We walked over to an auto parts store, which was also conveniently located nearby. I handed the dead bulb to the staff and asked for an exact match. They brought out the correct bulb, and I bought it on the spot.
Back at the Pajero, I slotted the new bulb into the socket to check if it would light up. Nothing happened. For a second, panic set in, and I started worrying that the issue might be a deeper electrical fault. But on a whim, I flipped the bulb upside down and plugged it back in. Boom—it lit up perfectly! It turns out it was just inserted backwards. I screwed the cover back on, and the tail light was officially cured. We had no more worries left.
- The VicRoads Bureaucracy and the Paradox of “Airbnb Parking”
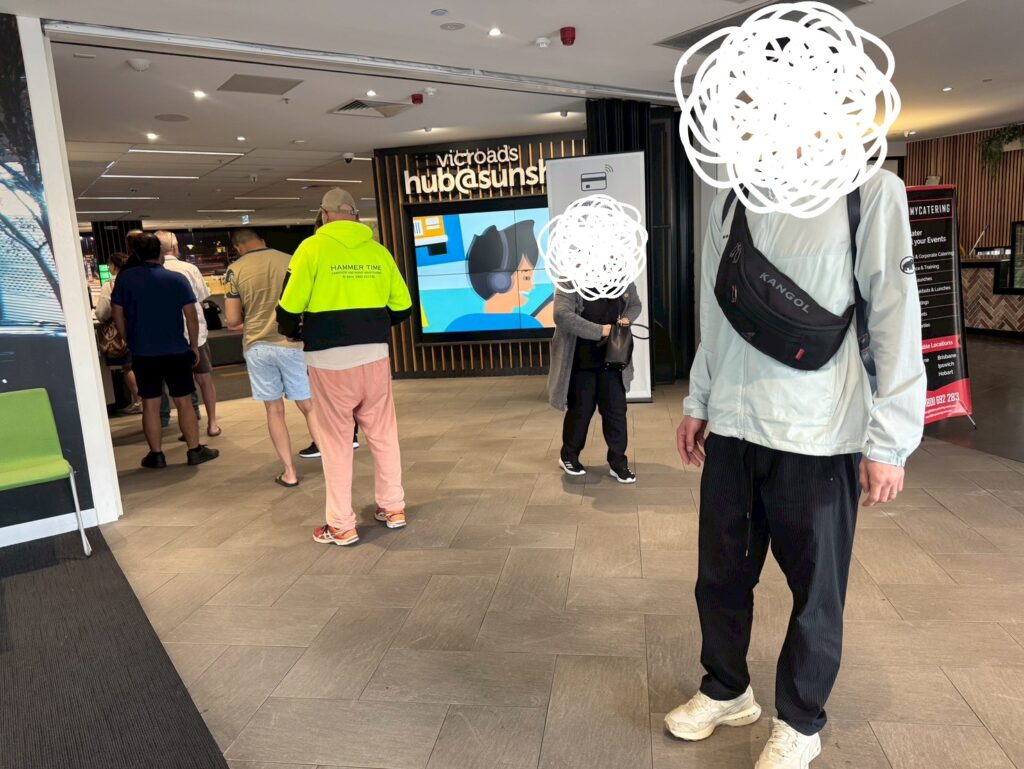
Because of our unexpected roadside mechanics session, our planned 8:30 AM arrival slipped to just after 10:00 AM. We pulled into the Sunshine VicRoads branch, and my anxiety spiked again when I saw the parking lot was absolutely packed. I thought we had missed our window, but incredibly, a car pulled out right in front of us, and we snagged a perfect spot.
Inside, the branch wasn’t as crowded as we feared, though a massive line began forming right behind us shortly after we arrived. Our first task was to create a VicRoads Customer Number, which is required for vehicle ownership. During this process, the staff member checked my passport and then asked for something completely unexpected: “Can I see your Japanese credit card?” I still have absolutely no idea why a foreign credit card was required for identity verification, but I handed it over, and it did the trick.
With the customer number generated, we moved on to the transfer. I handed over our freshly printed documents, and the process went smoothly. After paying a transfer fee of over $500, the Pajero was officially registered under my name! However, the staff dropped a small surprise: they mentioned that our REGO (registration) only had about one month remaining. I could have sworn the seller told us there were two months left, but since it could easily be renewed online later, we wrapped up our paperwork and left. On our way out, I glanced at a digital news screen near the exit and saw Prime Minister Sanae Takaichi appearing on the broadcast. It was a surreal moment realizing that Australian media actively reports on Japanese politics.
On our way home, we stopped by a shopping mall anchored by Woolworths—one of Australia’s two major supermarket chains. We managed to stock up on household essentials like body wash, which happened to be on a massive 50% off half-price sale.
Feeling accomplished, we drove back to our Airbnb. This brought us to another classic culture shock regarding our accommodation. The Airbnb listing had explicitly stated “parking included,” so we had initially parked the Pajero in a spot we assumed was ours. However, we quickly found out that the spot belonged to another resident. When we asked where our “included parking” actually was, the host told us to just park it on the street.
In Australia, the streets are massive and wide enough that street parking is completely standard and legal. But coming from Japan, where overnight street parking is non-existent and strictly illegal, it felt completely unbelievable. Leaving our brand-new asset out on the curb left us feeling incredibly nervous about potential theft.
To make matters worse, as soon as we stepped out of the car after parking it on the street, I checked the back and noticed the left tail light was completely dead again. A wave of anxiety hit me—had we been scammed into buying a broken, unreliable car?
Hoping it was just a loose connection, I unscrewed the tail light housing once more. I pushed the bulb into the socket as hard as I could, and this time, I felt a distinct, solid “click” as it locked into place. I turned the lights back on, and it glowed beautifully. It turned out that during my frantic morning repair, I simply hadn’t pushed it in far enough. Slowly but surely, I am starting to understand the quirks of this Pajero, and it’s turning out to be an incredibly fun learning experience. You really have to push those components until they click!
We finally parked our new beast safe and sound at our Airbnb, feeling a massive sense of relief. With our vehicle registration officially sorted, our major car checklist was finally complete. Tomorrow, we take our next big leap into our future mobile life: heading out to visit caravan dealers to get a real feel for our upcoming home! Stay tuned for Day 4!
Leave a Reply